In an earlier post I mentioned my yogurt making, but in case you are trying it yourself and want some tips on technique, here’s my step-by-step approach:
Equipment
- Yogurt maker (mine is a Eurocuisine that holds 7 little glass jars)
- 2 qt double boiler sauce pan
- Candy thermometer (mine is from Sur la table and has a range of 100-400° F)
- Wire whisk
- 4 qt sauce pan, big enough for you to set your 2 qt sauce pan down inside of it
- Ladle and wide mouth funnel (I have a stainless steel set that came with a canning kit)
Ingredients
- 1 qt whole milk
- 1 packet of frieze dried yogurt starter (such as Yogourmet)
Step 1
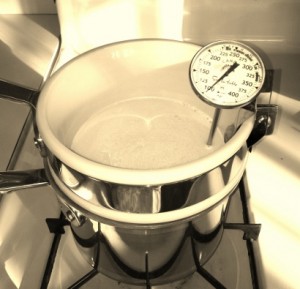
Fill the bottom of the double boiler with 2-3 inches of water, pour the milk into the top of the double boiler, and clip the thermometer to the edge of the pan to keep an eye on the temp. Use the wire whisk to stir the milk occasionally to avoid it forming a skin. (If it does, just skim it off with the whisk and throw it away.) Bring the milk to 175º F for a couple of minutes. (The reason for this is to kill off any unwanted bacteria so the yogurt will be the only bacteria growing in your milk. If you have a very trusted milk source, I’m told you can skip this step, but I never do.)
Step 2
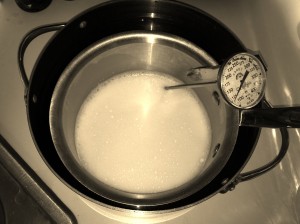
While your milk is heating, prep your 4 quart sauce pan by filling it about half full of cold water. This will be your bain-marie for quickly cooling the milk down to 120º F.
Step 3
Take the top of your double boiler (with the milk) out of the bottom part. Pour out the boiling water. Transfer the thermometer to the side of the now-empty bottom part. Pour the milk into this and place it inside the 4 qt sauce pan bain-marie. (The reason I transfer the milk is that the top part of my double boiler is ceramic and takes a long time to cool. The bottom is stainless steel and cools quickly.) Watch the thermometer closely and take the pan with the milk out of the bain-marie when it gets to 120º F. This only takes 4-5 minutes, so don’t go start some other project.
Step 4
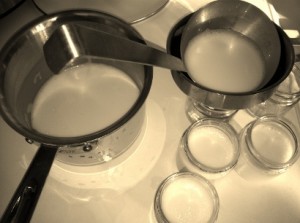
While your milk is cooling in its bain-marie, prep your little glass jars so they are arranged open and ready on the counter. If you have my same yogurt maker, you can also use this time to prep the lids with the date (this is utterly optional) and set them in the top of the plastic lid of the yogurt maker (see photo below). Also, get out the ladle, wide mouth funnel, and packet of frieze-dried yogurt starter.
Step 5
Dip up a half-ladle of milk and pour in the yogurt starter powder. Use the whisk to mix it around in the ladle before pouring it back into the pan of milk. Now use the whisk to blend it thoroughly in the pan. Place your wide mouth funnel on top of your first little jar. Dip up an almost full ladle of milk and pour it into the jar through the funnel. Repeat to fill 6 of the jars. For the 7th, you just have to pick up the pan and pour the remaining milk into your funnel. The jars won’t be quite full since you only used a quart of milk (they are meant to hold 7 oz each, but you’ll only have a little under 5 oz per jar. If you want to fill them to the brim, you have to buy a 1/2 gallon of milk and use a little more than half of it, which then goes bad by the next time you make yogurt if like me you don’t use milk for anything else.)
Step 6
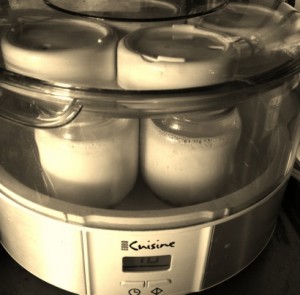
Almost there! Just place your jars on the base of your yogurt maker and cover with the big clear plastic lid. Plug it in and set the time for as long as possible. I like to let it go 10-12 hours, but it will be fully yogurted after 8. When it finishes, you will need to open it up, put lids on your jars, and place them in the fridge. Let them set for at least 3 hours, then enjoy!


Leave a Reply